Sunday, January 27, 2019

Get Rid of Ads on Knit Crochet Pattern Web Sites!

Let's get rid of those pesky ads on websites with knitting and crochet patterns before you print them out. Or save the page as a PDF. My suggestion? 
Follow the below instructions to save them as a PDF first, with no ads, THEN print out that PDF.

The usual story? You find a wonderful pattern only discover it is littered with ads all over the place. To print out the page would be to print out so many ads as well. And I have done the copy and paste of what I needed in a word document so that I only get the parts for the pattern.

However, there is a better answer and I'm going to drop some serious mind-blowing wisdom on you that works for knitting and crochet patterns. Or any web page where you want to save or print the data, but need the ads removed first.

I will be honest and say I haven't checked to see if the other internet browsers have this available so this post is specifically for the Chrome browser. And even if you don't use Chrome, it may be worth it for just when you are doing this!

In your Chrome browser, go get the extension "Print Friendly & PDF"
https://www.printfriendly.com/extensions/chrome

(To be honest, check out www.printfriendly.com as they may have extensions for other browsers.)

Install it the Chrome extension!!!

To try it out, you can use this page that a pattern but also ads in it =>
https://www.creativecrochetworkshop.com/2017/06/woven-sky-dishcloth/

Once you are on that page, in the top right corner you will see a green icon that looks like a printer.
Click on it. Then this below will pop up.


On top of this pop-up, the second button from the left is the button called "PDF". Click on it.

It will then give you this pop-up.


Now? Click on the green button "Download Your PDF".

It will then try to open it as a PDF in WHATEVER software you already have set as your default PDF software. My PDF software default is Adobe Acrobat.

Once it opens it up as a PDF in your default software, do a "Save As" of the PDF and save it in a location like your Desktop where you can easily find it.

Sometimes it will strip all ads and sometimes it will leave a few. It honestly depends on the back-end code of the website. If you look closely and compare the final PDF with the actual website, you will see it did strip it of a great deal of stuff to make the pattern more readable. So this is definitely a worthwhile process to go through.

Please let a comment here...
Or message me over at Ravelry (AstroGirlBunny) if you have any questions.

Hope this helps!

Monday, December 10, 2018

Tie-Straps Headband Knit Pattern

Tie-Straps Headband Knit Pattern
Difficulty Level: 2 out of 4 - Advanced Beginner Level


I needed a headband that would fit even my odd shaped head. Those with buttons in the pattern were fine - until the yarn stretched out. This pattern allows you straps long enough to tie it behind your head to secure the headband! So no matter how much the yarn stretches out, you can adjust where you tie the straps! And the body of the headband is wide enough to hold hair back in a pretty but understated way. The body of the pattern is simple.
The body of the headband is also not so wide that you have that annoying gap at the back but also not so narrow that hair is spiking out on the sides. 
As I said, my head is odd shaped which means, for me, many headbands slip right back off my head. I've tried my pattern with less stretchy and with more bulky yarn, and they don't grip as well - for me. But for you, they might. For my odd shaped head, I've found mixed yarns worked best. So far my two favorites have been one that was a cotton/wool mix. And the other yarn (shown above) is a wool, silk, and nylon mix. However, if you have no issues with normal headbands, a 100% acrylic yarn would work nicely for you as well!

With the abbreviations section, I have included a few how-to YouTube video's in case some beginner knitters would like to try out certain stitches. If you have any questions at all or need help, please leave me a comment and I will do my best to help you in any way I can.

Don't forget! Have fun with the pattern! I made the straps 13 inches but if you want them long enough to tie into a pretty bow, make them 16 inches long! Have fun! ~ Cindy

Gauge:
11 st and 16 rows in 2” Stockinette Stitch.

Size Headband Makes:
Straps are 1-1/4" wide. Body of headband is 2-1/2" wide. Total of about 40 inches long.

My Ravelry Profile:            

My Ravelry Headband:       


SUPPLIES:

Yarn: 70 – 80 yards (64-73 m) Keep it in the range of DK, Light Worsted (3). You can use 100% acrylic. Or cotton for summer. Or wool for winter. I personally like a cotton/wool mix yarn.

Knitting Needle Size: Size US 6 Needles (4 mm) – Though I often go up to US 7.

Notions:
Tapestry needle or small crochet hook – for weaving in the ends.
Stitch marker.
Tape measure.


Abbr                Meaning
CO                   Cast On
Sl                     Slip
St                    Stitch
Sts                  Stitches
K                     knit
P                      purl
KW                  Knit Wise        
Sl first st KW  slip first stitch knitwise
YO                   Yarn Over
M1                   Make One           https://youtu.be/oywVAE3cJ5Y (Go to minute 3:31)
K2Tog             Knit two stitches together
SSK                 Slip Slip Knit       https://youtu.be/0iiu9Ej-LGo

(If you are feeling ambitious, you can substitute all the SSK’s with K2Tog-L” - Knit two stitches together Left Leaning - https://youtu.be/owAyJQAIciM (Go to minute 1:23))

PATTERN - AS FOLLOWS: 
CO 8 sts
01. Sl first st KW, K7
Repeat row 1 until strap measures 13 inches long (unstretched).
02. K2, M1, K4, M1, K2
03. K3, P4, K3
04. K2, M1, K6, M1, K2
05. K3, P6, K3
06. K2, M1, K1, SSK, YO, K2, YO, K2Tog, K1, M1, K2
07. K3, P8, K3
08. K2, M1, K1, SSK, YO, K4, YO, K2Tog, K1, M1, K2
09. K3, P10, K3
10. K2, M1, K1, SSK, YO, K1, YO, SSK, K2Tog, YO, K1, YO, K2Tog, K1, M1, K2
11. K3, P12, K3
 (The  -/-  is just to break up the pattern for readability and has no significance beyond that.)
12. K3, SSK, YO, K1,  -/-  YO, SSK, K2,  -/-  K2Tog, YO, K1,  -/-  YO, K2Tog, K3
13. K3, P12, K3
14. – 75. Rep rows 12 and 13 until body of headband measures 10 inches.
For the grey headband, it took about 35 repeats of rows 12 and 13 to obtain length. 
However, this may vary due to yarn and size of needle you use.
Once headband is 10 inches long from stitch marker, remove it to save for later. 
76. K1, SSK, K1, SSK, YO, K1, YO, SSK, K2Tog, YO, K1, YO, K2Tog, K1, K2Tog, K1
77. K3, P10, K3
78. K1, SSK, K1, SSK, YO, K4, YO, K2Tog, K1, K2Tog, K1
79. K3, P8, K3
80. K1, SSK, K1, SSK, YO, K2, YO, K2Tog, K1, K2Tog, K1
81. K3, P6, K3
82. K1, SSK, K6, K2Tog, K1
83. K3, P4, K3
84. K1, SSK, K4, K2Tog, K1
Row 85 begins the second tie strap. Place the stitch marker on the first stitch of Row 84. This allows you a way to measure when you have completed Row 85 enough times to make the tie strap 13 inches long.
85. Sl first st KW, K7
Repeat row 85 until strap measures 13 inches long (unstretched). 
Then remove stitch marker.
Bind off.
Weave in tails. 
Block if desired, though I haven't done so with any of my headbands so far.


Thursday, November 22, 2018

Knit Adult Beanie Hat Pattern with Variations

Knit Adult Beanie Hat Pattern with Variations


Yarn
88 yards (80m/100g)
Bulky weight (5), plied yarn.
However, if you decide to play around with the yarn weight, adjust the needle size and the pattern accordingly.

Knitting Needles
Size: US 10 (6 mm) – Or size to obtain gauge.
Circular and DPN’s.
For circular’s, keep cord no longer than 20 inches long (when including needles). Else any longer will be too long.

Notions Needed
Stitch Marker
Tapestry needle or small crochet hook (to weave in ends at end of the project).

Gauge
13 sts x 20 rows to 4 inches.

Size
To Fit Size:          17.00 inches (43.25 cm) Small
                            19.00 inches (51.00 cm) Medium
                            23.00 inches (58.00 cm) Large
Finished:             14.75 inches (37.50 cm) Small
                            17.25 inches (43.75 cm) Medium
                            19.75 inches (50.25 cm) Large
      For reference of Small, Medium, Large, within the pattern, the number of stitches, etc., will be noted as “XX stitches [YY, ZZ]” with XX being Small, YY being Medium, and ZZ being Large.

Abbreviations
K                        knit
P                        purl
RS                     Right Side
WS                    Wrong Side
Rnd/rnd             Round
rpt                      Repeat
st(s)                   Stitch(es)
k2tog                 Knit Next Two Stitches Together

Technique Note on Cast On   
      This pattern requires the use of Alternative Cable Cast On for 1 x 1 ribbing. Also known as Invisible Cast On. For an easy tutorial on this cast on, check out this YouTube video: https://youtu.be/bu5ze4mTf_c
2    
          Pattern Options
The beanie is designed to be long so that it can be worn either as tall (current fashion) or wear with a folded brim. To create a regular length beanie, update the pattern so that the length of the body is instead this (before starting the crown shaping):  4 inches [4.5, 5] 


Pattern

Cast On – Part One
Using Alternate Cable cast-on method, cast on a total of 48 stitches [56, 64].
Join in the round, being careful not to twist sts. Place stitch marker to indicate start of round.

Brim – Part Two
Now do row after row in the pattern *K1, P1* rib until work measures 2.5 inches [2.75, 3] from the cast on. Remember to keep your stitch marker at the beginning of each round.

Body – Part Three
Next rnd: Knit all stitches.
Repeat row after row doing only knit stitches, keeping your stitch marker at the beginning of each round.
Repeat this work, round after round, until work measures – FROM CAST ON – a total of 6 inches [6.5, 7].
Therefore, this will be measured to include the brim.

Crown – Part Four
Are you making size Small (17 inch)? Then jump to Rnd 5 to begin Crown.
Are you making size Medium (19 inch)? Then jump to Rnd 3 to begin Crown.
Are you making size Large (23 inch)? Then start at Rnd 1 to begin Crown. 

Rnd 01: *K6, k2tog; rpt from * to end [56 sts] 
You will do this repeat 8 times, ending up with 56 stitches.
Rnd 02: *Knit*
Rnd 03: *K5, k2tog; rpt from * to end [48 sts] 
You will do this repeat 8 times, ending up with 48 stitches.
Rnd 04: *Knit*                                                  
Rnd 05: *K4, k2tog; rpt from * to end [40 sts] 
You will do this repeat 8 times, ending up with 40 stitches.
Rnd 06: *Knit*                                                               
Rnd 07: *K3, k2tog; rpt from * to end [32 sts] 
You will do this repeat 8 times, ending up with 32 stitches.
Rnd 08: *Knit*                                                  
Rnd 09: *K2, k2tog; rpt from * to end [24 sts] 
You will do this repeat 8 times, ending up with 24 stitches.
Rnd 10: *Knit*                       

At this point, you will most likely need to switch to DPNs.
                          
Rnd 11: *K1, k2tog; rpt from * to end [16 sts] 
You will do this repeat 8 times, ending up with 16 stitches.     
Rnd 12: *Knit*                                                  
Rnd 13: *k2tog; rpt from * to end [8 sts] 
You will do this repeat 8 times, ending up with 8 stitches.
Rnd 14: *k2tog; rpt from * to end [4 sts] 
You will do this repeat 4 times, ending up with 4 stitches.


Break yarn and draw through remaining 4 sts, tighten to close.

Finishing – Part Five
Weave in all ends using the tapestry needle or crochet hook. 
Blocking isn't needed but is recommended if your crown needs to be shaped a little.

Friday, October 12, 2018

Simple Crochet Scarf

Simple Crochet Scarf


This is a simple crochet scarf. What I have found is that even when reading books for crochet instructions you will find conflicting information when comparing one book to another. This confused me greatly as my experienced friends also gave conflicting information when teaching me to crochet. What often happens is a book makes an assumption on how you learned how to do a stitch and gives you higher level instructions. But, say, you've learned to start in a different place on a new row for that stitch then this book would, so your piece doesn't look right! You wonder what you've done! This confused me greatly!

This is a beginner's pattern. I will tell you when I diverge from what other people normally say.

Tip: If you are new, then use a hook that is one to two sizes larger than the yarn label recommends for that yarn. New crocheters often crochet too tightly, making it harder on themselves. Going up in size of hook won't make your piece look to lose. It will actually balance it out and make it easier on you to work with the yarn. Matter of fact, I still often do this.


I chose a fun yarn for this project since it's a simple stitch. However, any yarn will work. To know how many stitches you should chain on, look at your yarn label. It tells you for its recommended hook, the average number of stitches normally created in 4 inches. From there you can guess. And remember - what you chain on will look smaller than what it will actually be. So you will chain it on and it looks 6 inches? But once you've done a few rows, it ends up being 6.5 or 7 inches wide. That is just how crocheting is.

Note: Most people, when doing double crochet stitch, do it differently than I do. I'll make notes in parentheses so that you have that information.

Pattern:


I chained on 15. Your instructions are to chain on the length you want plus two more chains.
(Most chain three more for when double crochet stitch).

Turn.
Then in the third chain stitch, I did a double crochet.
(This is tighter than what most people do.
Most people would do their first double crochet in the first row in the fourth chain.)

I then crocheted across. Make sure to do that last loop/stitch.

Chain 2 (most people chain 3 for double crochet).
Turn.

Then go into the first stitch from the right-hand side and do a double crochet.
(If, however, you have chained 3 right before the turn, then go into the SECOND stitch from the right-hand side to do your first double crochet stitch for that row.)

Keep going until you have the length of the scarf you want. Most people do it until at least 58 inches to no more than 80 inches. 60-70 inches is a good length.

Make sure to weave in the ends and you are done!
Let me know how your projects went!

Project is also on Ravelry: https://www.ravelry.com/projects/AstroGirlBunny/carnegie-rockefeller-cream-scarf


Monday, September 24, 2018

Versatile Lace Scarf Knit Pattern

A lovely lace knit scarf pattern you can play around with. Recommended for an advanced beginner though I honestly think it isn't too hard so don't be shy at giving it a try even if you are a true beginner. It is a great way to start practicing your increases and decreases while making a lovely lace scarf.

I chose to combine Berroco Gem yarn and Elsebeth Lavold Silky Wool Designer's Choice yarn for this project. I have been looking for a way to look use my beautiful, but bright, Gem Tangerine yarn for a while and this seemed perfect. When combined with the Granite wool yarn, it balances it out to give the scarf a more elegant look.

When you decide to knit two strands of yarn together, you need to decide what size needle to use. The thickest yarn of the two, that I used for this project, is the Gem. The Gem's yarn label recommends a size # 9 US. Now that it will be combined with yet another yarn, I need to go up a needle size and chose to use size # US 11 knitting needles.

Please note that you can use just one type of yarn for this project. If so, look at your yarn label, see what knitting needle size they recommend and use the largest size they recommend or just one size larger than recommended for this pattern. And have fun! Maybe use yarn that has adornment already on it, like sequins, which will make it look even more unique! Have fun with this pattern! See the bottom for various modification possibilities!

Skill Level: Advanced Beginner

Stitches Used:
k - knit  (example, k2 would be knit two stitches)
p - purl
yo - yarn over (this creates an increase)
k2tog - knit two together (this creates a decrease)

Yarn: 
320 - 344 yards
If you decided to knit two strands of yarn together, make sure you have enough of each yarn. Meaning that you will most likely need at least 320 yards of each type of yarn.

Needle:
# US 11 (when knitting two strands of yarn together)
- or -
# US  7 (for one strand only with light worsted yarn)

Other Materials:
Yarn/tapestry needle or small crochet hook to weave in ends.

--- Pattern ---

Cast on 24 stitches - if using # US 11 needles.
Cast on 34 stitches if using one strand of yarn and size # US 7 needles or smaller.

Foundation
Knit two rows.

Body
Row 1: k2, *purl* until last two stitches, then k2.
Row 2: k2, *k2, yo, k1, k2tog, k2tog, k1, yo, k2* repeat across until last two stitches. Then k2.
Row 3: k2, *purl* until last two stitches, then k2.
Row 4: k2, *k3, yo, k2tog, k2tog, yo, k3* repeat across until last two stitches. Then k2.
Row 5: k2, *purl* until last two stitches, then k2.
Row 6: k2, *k2tog, k1, yo, k4, yo, k1, k2tog* repeat across until last two stitches. Then k2.
Row 7: k2, *purl* until last two stitches, then k2.
Row 8: k2, *k2tog, yo, k6, yo, k2tog* repeat across until last two stitches. Then k2.

Repeat rows 1-8 until you have desired length of the scarf.  

Final Row before "End"
k2, *purl* until last two stitches, then k2.

End
Knit two rows.

Bind off loosely in knit.

Weave in ends. 

You do not have to block. However, depending on the yarn and other factors, it may help the lace pattern really show. And if you have any curling, blocking would help that as well.

--- Pattern Modifications Possibilities ---

To make wider - Do so in multiples of 10. Then repeat the pattern as noted between the * in the Body section. This is due to the pattern repeats on rows 2, 4, 6, and 8 are all sets of 10 which is why if you want to widen the scarf, you would widen it by 10 stitches at a time, thus by one set of pattern repeats at a time.

To make longer - Just remember the pattern looks best when the entire set of rows 1 through 8 are completed. If you decide to go longer, suggest doing an entire another set of rows 1 through 8. 

To make it as a cowl (instead of a scarf) - Do not do the "Foundation" or "End" rows at all. Still do the "Final Row before the Foundation - End", though, before binding off. Seam the ends together (which makes it into a cowl/infinity scarf). Then weave in the ends.


Wednesday, September 5, 2018

Pattern Notes for Mostassa Cowl

I found this wonderful pattern on Ravelry for a cowl. It helps a beginner play with different stitches. In the end, you have this great-looking cowl. I have had so much fun doing this pattern!

Yet I kept finding myself running into the same pattern issues over and over again.
Originally I made notes for myself but realized it could be useful for others. Which is why I decided to put it into a blog post (below).

Here is the Mostassa Cowl with instructions additions and note additions I completed early September 2018.

You can find me on Ravelry via handle AstroGirlBunny.
_________________________________________________________________________

MOSTASSA COWL

Designed by Ovejita Be! – Teresa Sánchez © 2018 Link to pattern on Ravelry: Mostassa Cowl
www.ovejitabe.com – info@ovejitabe.com

ABOUT
The Mostassa cowl is designed to be a sampler of knitting stitches, an invitation to try new techniques and experiment. The name is inspired by the color of the chosen yarn, a yellow mustard tone perfect for brightening grey days. This cowl is knitted seamless in the round, with a circular needle or DPNs. It features easy to knit and purl stitch patterns, decreases, yarn overs and slipped stitches, suitable for advanced-beginners. It is an ideal project to try circular needle knitting!

Needles:
24” (60 cm) length cord and US size 7 (4.5 mm) circular needle or size needed to achieve gauge. See “Final Measurements” below to see final circumference. Using a tape measure, make sure that this will be wide enough to pull over the head of the person you are making this for. If it is not, going up one needle size to US size 8 (5 mm) is usually sufficient as long as the yarn label suggests needle size US 7 (4.5 mm). For even larger, find a yarn with a label that indicates use of needles US size 8 (5 mm) and use then use needles US size 9 (5.5 mm). But please know once you go this large, it will be much larger. Alternatively: You can use a 40” (100 cm) or longer circular needle to work in magic loop or DPNs if preferred.

Yarn Used:
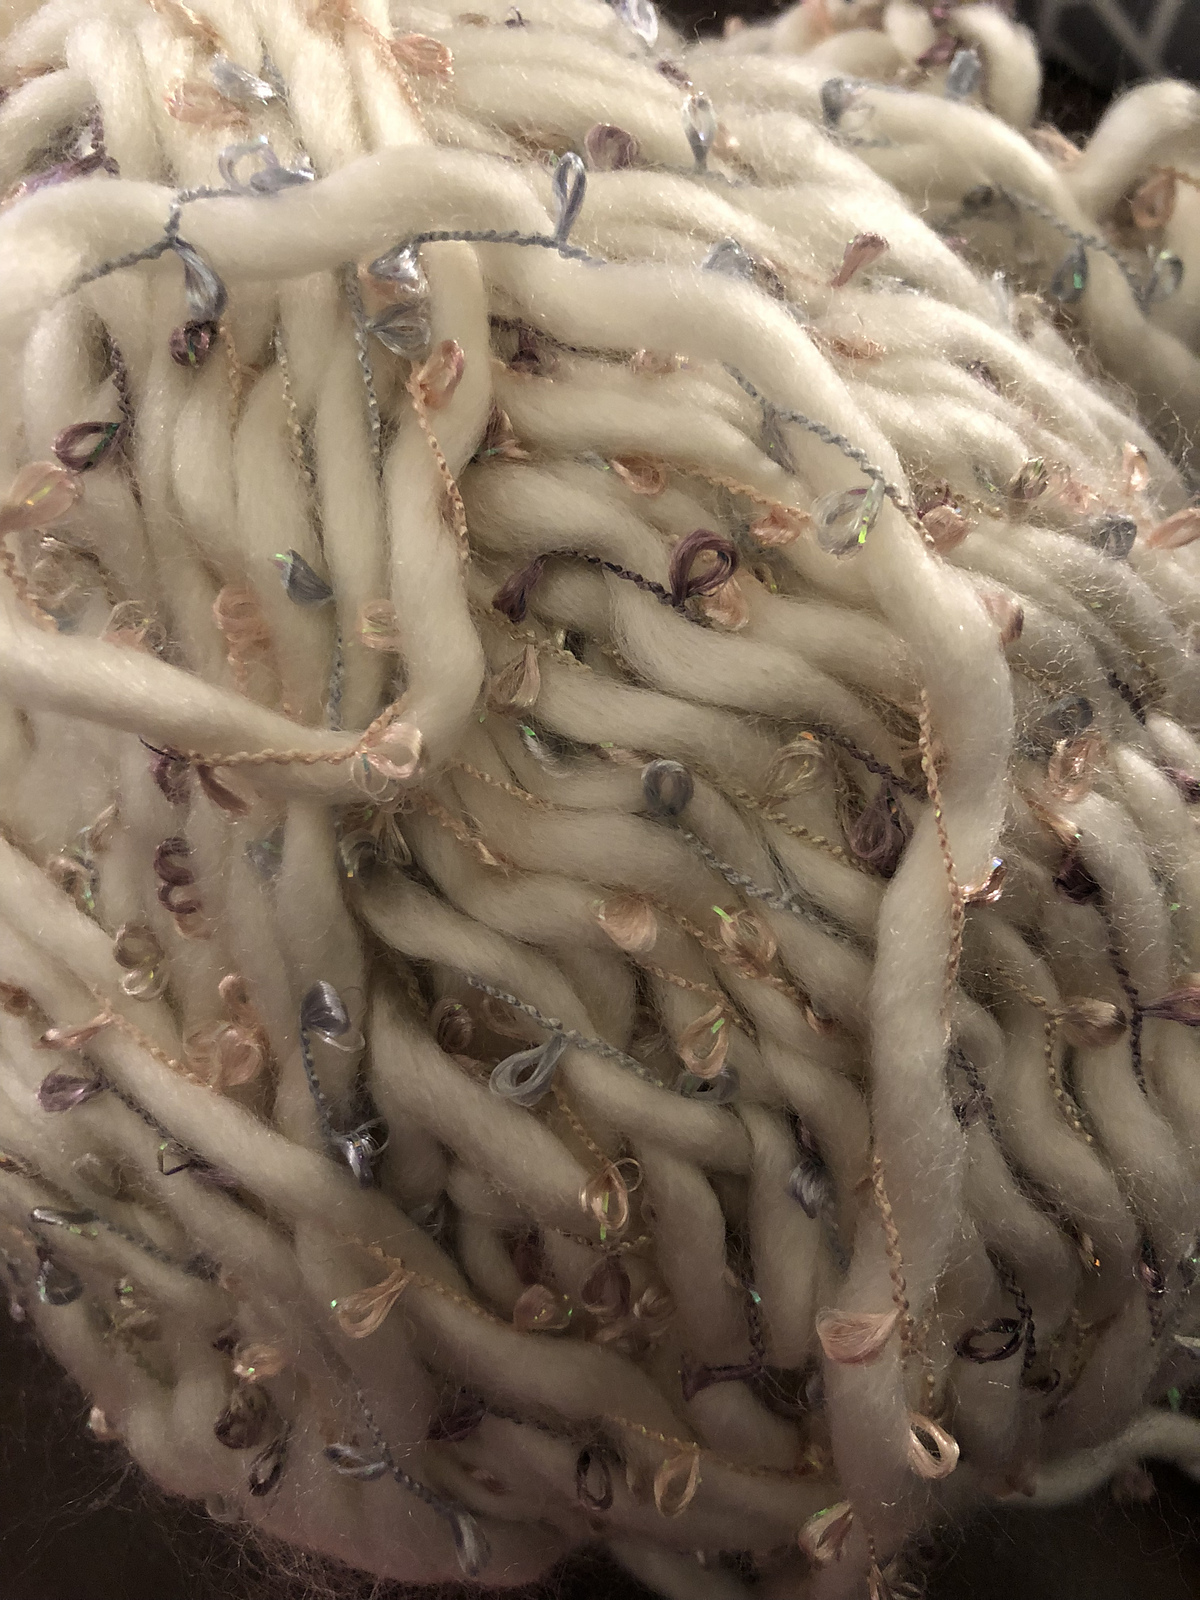
Rosas Crafts’ Mogollon 4 (100% acrylic; 200 m / 100 g). One ball in color 115. This is a worsted yarn which recommends size 6 or 7 US knitting needles (in case you are looking for a similar yarn). Solid or semisolid colors are recommended. This will allow the stitch patterns to show better.

Yardage actually needed:
130-150 meters / 142-164 yards.

Gauge:
15 sts x 18 rows in 10 cm/ 4”, in stockinette stitch.

Other notions:
Darning needle, though a small crochet hook (4 mm or 4.5 mm) can be used instead. 1 stitch marker for round starting point (optional but highly suggested).

Final measurements:
Using US size 7 (4.5 mm) needles: One size - 48-52 cm / 19-20.5” circumference, 23 cm / 9” height.


Finished Size:


Techniques used:
-             Knit & purl.
-             Knit two stitches together.
-             Yarn over.
-             Slip one stitch.
Cindy’s notes – The videos she provides are her own but are not in English (for the cast on and bind off.) Therefore I am providing videos I have found that are in English and think are helpful. But I’ve kept her original links within the pattern as well.
-             German twisted cast on: VideoLink.
                     Cindy’s Notes: Here are some others which I found more helpful:
                           My favorite German Twisted Cast On video:        German Twisted Cast On - 1
                           My 2nd favorite German Twisted Cast On video: German Twisted Cast On - 2
-             Working in the round with circular needles or with DPNs.
-             Bind off in pattern: VideoLink.
                      Cindy’s Notes: Here is a bind off in 2x2 pattern I found helpful:
                           This is specifically bind off for 2kx2p pattern: Binding Off in 2x2 Pattern

STITCH ABBREVIATIONS
K            knit
P            purl
K2tog    knit 2 sts together
Sl           slip stitch
Yo          yarn over
St(s)       stitch(es)
R            round
PM        place marker


PATTERN

Cast on 77 sts using the German twisted cast on. Suggest using small PM’s after every 20th stitch.
Later, when working the first Ribbing Round, it will help you with keeping the casted stitches from
getting twisted. At least it helped me in the sense of it helped on keeping the yarn straight during the first round.

Join in the round by knitting together the first and the last stitch: slip first stitch from the right to the left needle, then place marker on right needle (beginning of the round), then knit the two stitches on the left needle together. This stitch, that you  just knitted, counts as your first stitch on the first “Ribbing Round” (see below). At this point you will have a total of 76 stitches.

Please be careful to not twist the cast of stitches which you work the first Ribbing Round. After completing the first round, it should become much easier to keep the stitches from becoming twisted. PM if needed at the beginning of the round, then knit the two sts together.

Ribbing Rounds Begin:

Note on the first round: If you had placed markers after every 20th stitch during cast on, now remove them as you come across them. You should no longer need them once you work up to that point.
Make sure you do not ever remove the main Place Marker for the project which indicates the start/stop of each round. Not until you are done with the project.

Complete this Ribbing pattern for 6 rounds: *k2, p2, repeat from * to end of round.


Section 1: Stockinette Stitch

Knit 8 rounds.
Purl 1 round.


Section 2: Moss Stitch

Knit 1 round.

Moss Stitch (Rounds 1 & 2 are repeated 2 more times but I’ve chosen to write it out.)
R1: *k1, p1, repeat from * to end of round.
R2: *p1, k1, repeat from * to end of round.
R3: *k1, p1, repeat from * to end of round.
R4: *p1, k1, repeat from * to end of round.
R5: *k1, p1, repeat from * to end of round.
R6: *p1, k1, repeat from * to end of round.

Knit 1 round.
Purl 1 round.


Section 3: Eyelet Pattern

Knit 2 rounds.

R1: *k2, k2tog, yo, repeat from * to end of round.
R2: k.
R3: *k2tog, yo, k2, repeat from * to end of round.
R4: k.
R5: *k2, k2tog, yo, repeat from * to end of round.
R6: k.

Purl 1 round.


Section 4: mock ribbing stitch

Knit 1 round.

Mock Ribbing Stitch (It calls to repeat 1 & 2 two more times but I decided to write them out.)
R1: *k1, p1, repeat from * to end of round.
R2: k.
R3: *k1, p1, repeat from * to end of round.
R4: k.
R5: *k1, p1, repeat from * to end of round.
R6: k.

Purl 1 round.


Section 5: Slipped Moss Stitch

Knit 1 round.

Slipped Moss Stitch (It calls to repeat 1-4 one more time. I’ve decided to write it out.)
R1: *p1, k1, repeat from * to end of round.
R2: *sl1, k1, repeat from * to end of round.
R3: *k1, p1, repeat from * to end of round.
R4: *k1, sl1, repeat from * to end of round.
R5: *p1, k1, repeat from * to end of round.
R6: *sl1, k1, repeat from * to end of round.
R7: *k1, p1, repeat from * to end of round.
R8: *k1, sl1, repeat from * to end of round.

Knit 1 round.
Purl 1 round.


Section 6: Stockinette Stitch

Knit 8 rounds.


Ribbing Rounds End:
Do Ribbing pattern for 6 rounds.

*k2, p2, repeat from * to end of round.


Finishing:
Bind off in pattern (see videos at beginning of pattern). Block.
Weave in ends with the darning needle or small crochet hook.

You are done! Below are some of my completed cowls for this pattern...


Blue Mist Mostassa Cowl


Tidal Blue Mostassa Cowl


____________________

TERMS OF USE
About the pattern: This pattern is copyrighted by Ovejita Be! – Teresa Sánchez © 2018.
About finished objects: The copyright applies only to the pattern itself. You can sell, donate or give your finished objects. If you list them online, I just ask you for credit for the design in the item’s description. Thank you!